Would you like to know about growing your own food and managing good health and nutrition? Read on if you would.
This is the first of a set of three articles that will look at how you can grow your own nutritious veggies and fruit. You will know exactly where they come from and how they are grown, unlike those you buy in the shops or supermarket .
Part 1: Prepare Your Plot
1. Getting Started
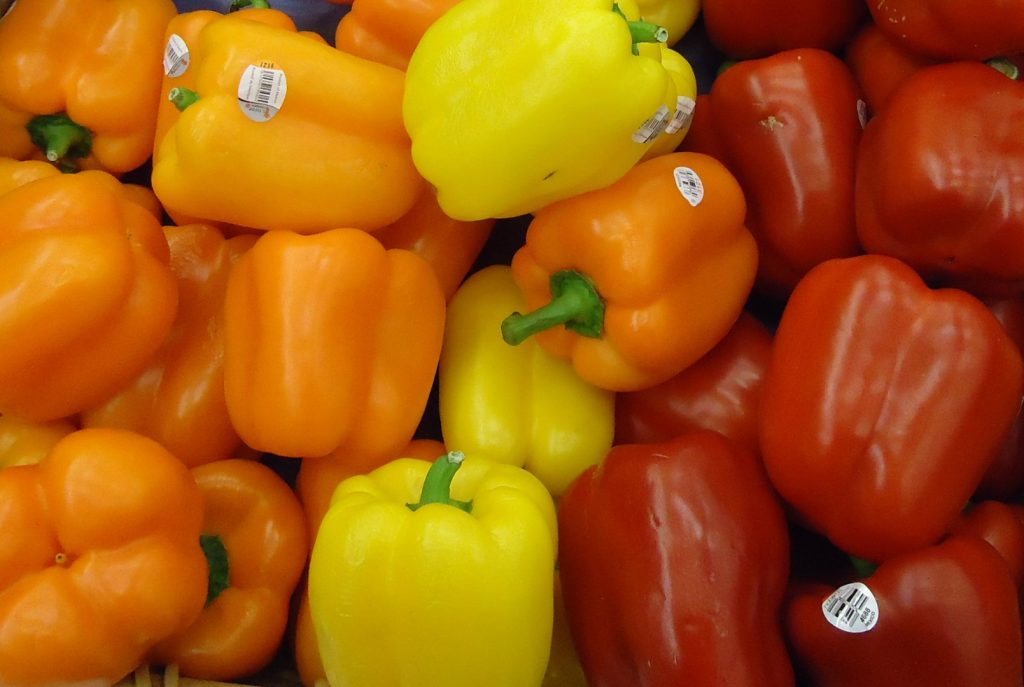
When you buy fruit and vegetables in a shop, it’s difficult to know what chemicals growers have used to spray the produce. You also can’t tell what’s been added to the soil they’ve been grown in. This is true even if you buy organic produce from a local greengrocer. The only way to be certain is to grow your own. That way, you know exactly what you’re eating. And it’ll cost you a fraction of the price of fruit and veg from even the cheapest supermarket.
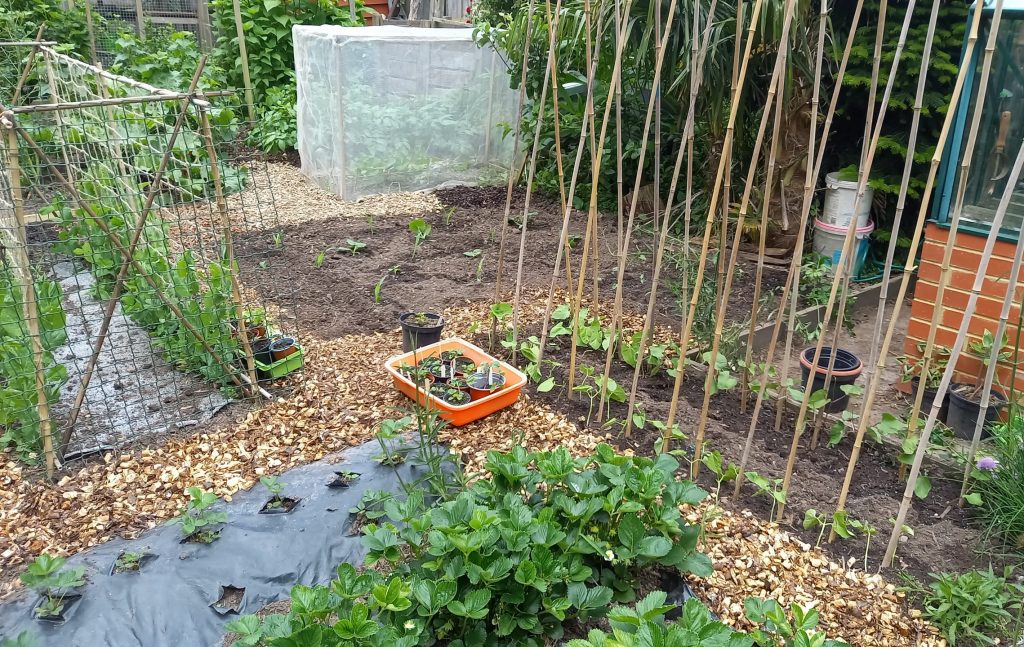
It’s difficult to be completely self-sufficient unless you have a huge garden or a couple of allotments. But even a relatively small patch can make a significant contribution to your annual consumption of healthy produce. It can save you a fair bit of money too, if you choose the right things to grow. In these three posts, I’m looking at what you can grow on a plot of just 20 square metres. I’ll be assuming you have a small greenhouse too, but that’s not essential. If you’ve got indoor windowsills, you can use those to germinate seeds. With a plot of this size and careful planning, you can save several hundred pounds a year. In this first post, I’ll be looking at how to prepare your vegetable plot.
2. Plan Your Plot
 Before you start, do a bit of planning. Think about what will go where, and how your succession planting will work (more about this in later posts). Think about what direction the sun shines from. Most vegetable crops like full sun. So make sure taller crops (such as artichokes and climbing beans) aren’t shading out lower-growing crops. Salad crops, such as lettuces, are often better out of full sun. And most soft fruit can take a bit of shade. So take the characteristics of individual plants into account too.
3. What’s the Soil Like?
Now look at the soil. Is it sandy, heavy clay, or a nice, fertile loam? And what’s the pH? Is it acid or alkali? If the soil is either sandy or heavy clay, it’s likely you’ll need to fork in a lot of organic matter to make it productive. You could use well-rotted horse manure to get you started. In the following years, you can use your own compost produced from garden waste.
Check soil pH using a pH meter. Check it in different areas of your plot, because different crops require different pH levels. Potatoes, for example, like a slightly acid soil. Brassicas (cabbage, sprouts, kale, spinach) prefer slightly alkaline soil. If the plot is too acidic, you can raise the pH by applying garden lime, dug in before you sow. By adding garden compost, you can reduce the pH over time, so check each year.
4. Get Composting!
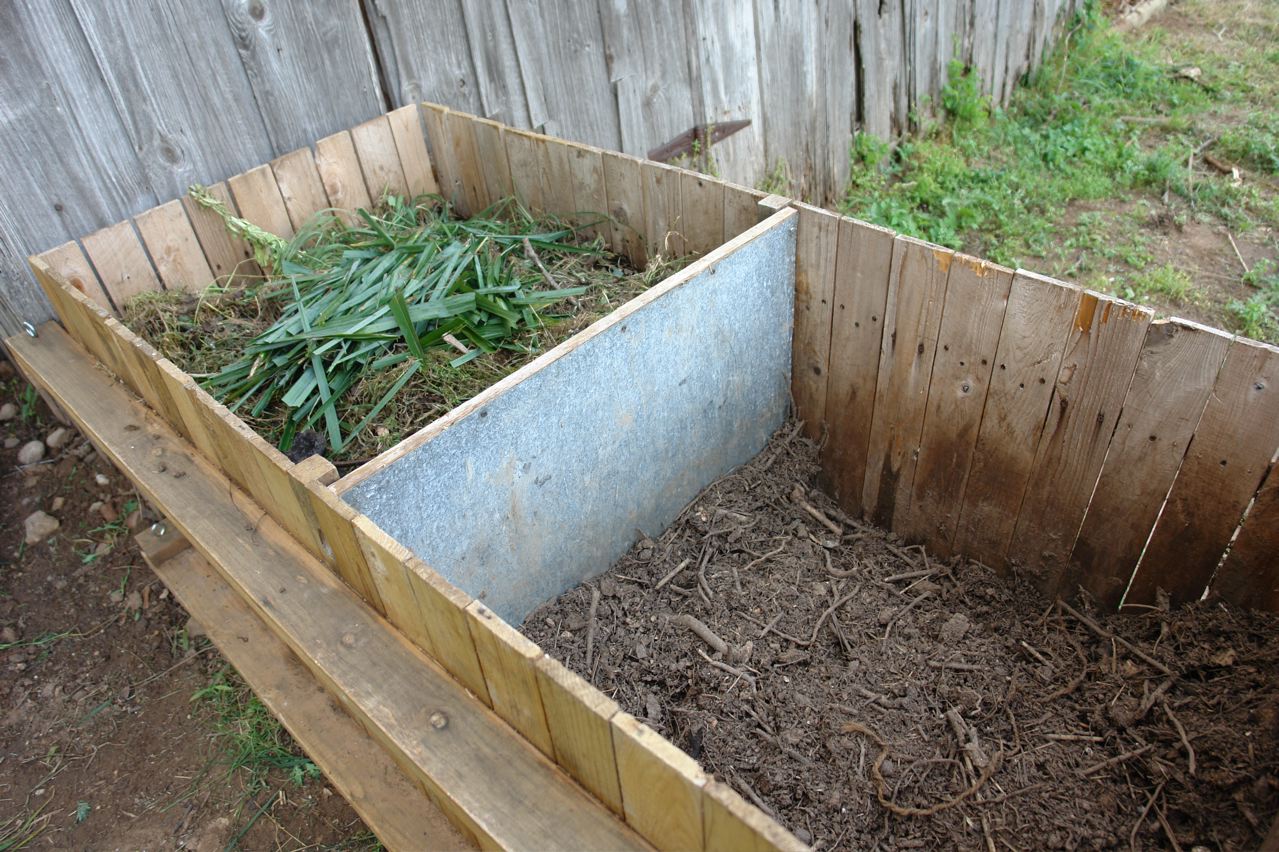 Compost is worth another article all to itself. Indeed, there are many whole books on the subject. But stick to the principle that nothing leaves your garden, you recycle everything. You can compost green waste easily. Woody garden waste rots down much more slowly. The best compost bins are made of slatted wood, with spaces to let the air in. You need two or three compartments. If you buy one, make sure the manufacturer has used treated wood to stop it rotting. They can be pricey, so you could make one from old pallets. Having two or more compartments allows you to turn compost from one bin into the next as it gets full. That way, you’ll end up with the compost that’s ready to use in the final bin. Turning the compost from one bin to the next gets oxygen back in too, essential for good, aerobic decomposition.
Get a Shredder
It’s worth investing in a garden shredder. I shred woody waste using a garden shredder, then use it to make woodchip paths between the veg beds. That way, it decomposes slowly and aerobically to feed the soil. One of the low-speed ones that crushes material is best. The high-speed ones with a spinning blade can’t cope with thicker woody stems. The compost works better, and rots down more quickly, if you shred the harder green plants and twiggy stuff before composting. You can compost the soft, fleshy material (old cabbages, rhubarb leaves, that sort of thing) without shredding. It will only gum up the shredder anyway.
Good, actively working compost is a whole ecosystem in itself. It should have worms, wood lice, beetles, grubs, ants, and top of the food chain, carnivorous centipedes. These are all an essential part of the decomposition food chain, starting with the bacteria and fungi that break down the plant material.
5. Be Patient
 It usually takes about six months to produce good compost from fresh garden waste. It can be less in summer. The bins won’t need to be very big. You’ll be amazed at how quickly material decomposes and compacts down. You can add newspaper and cardboard too. And human urine, which is a good source of nitrogen. Newspaper soaked in wee is perfect. Choose a newspaper article about your least favourite politician and give it a go. Cover the compost with a piece of old carpet, to stop it drying out.
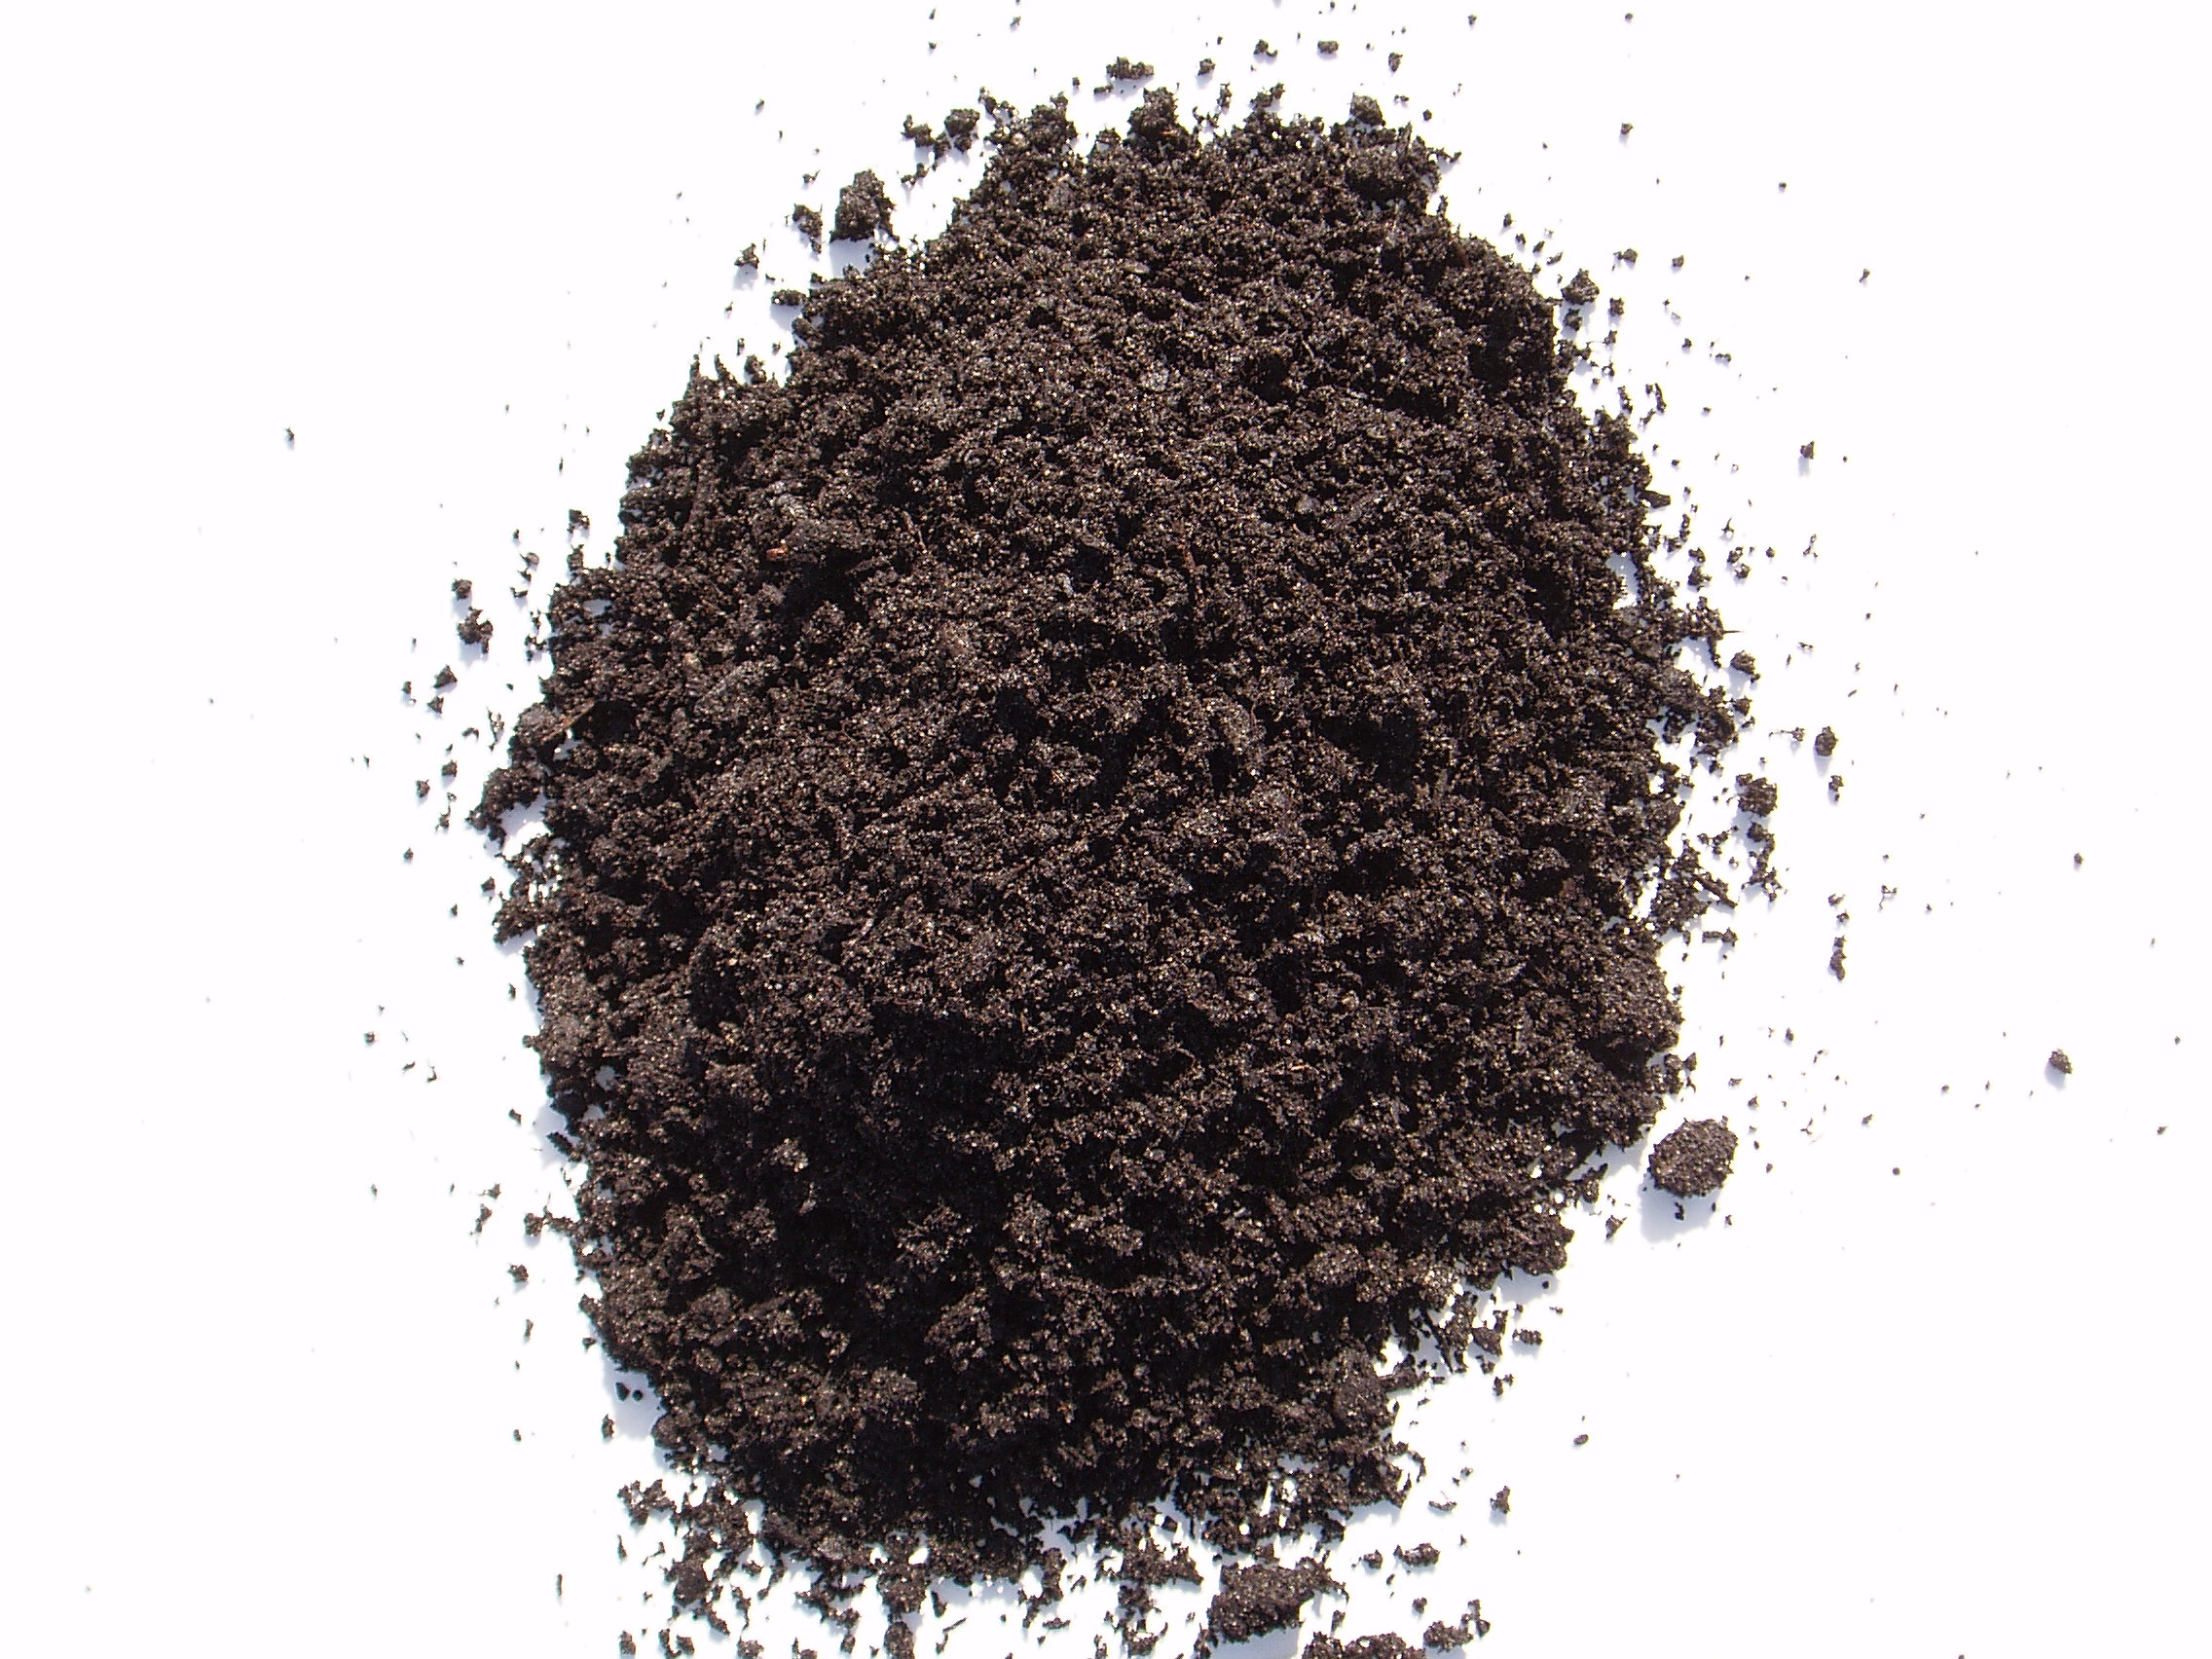
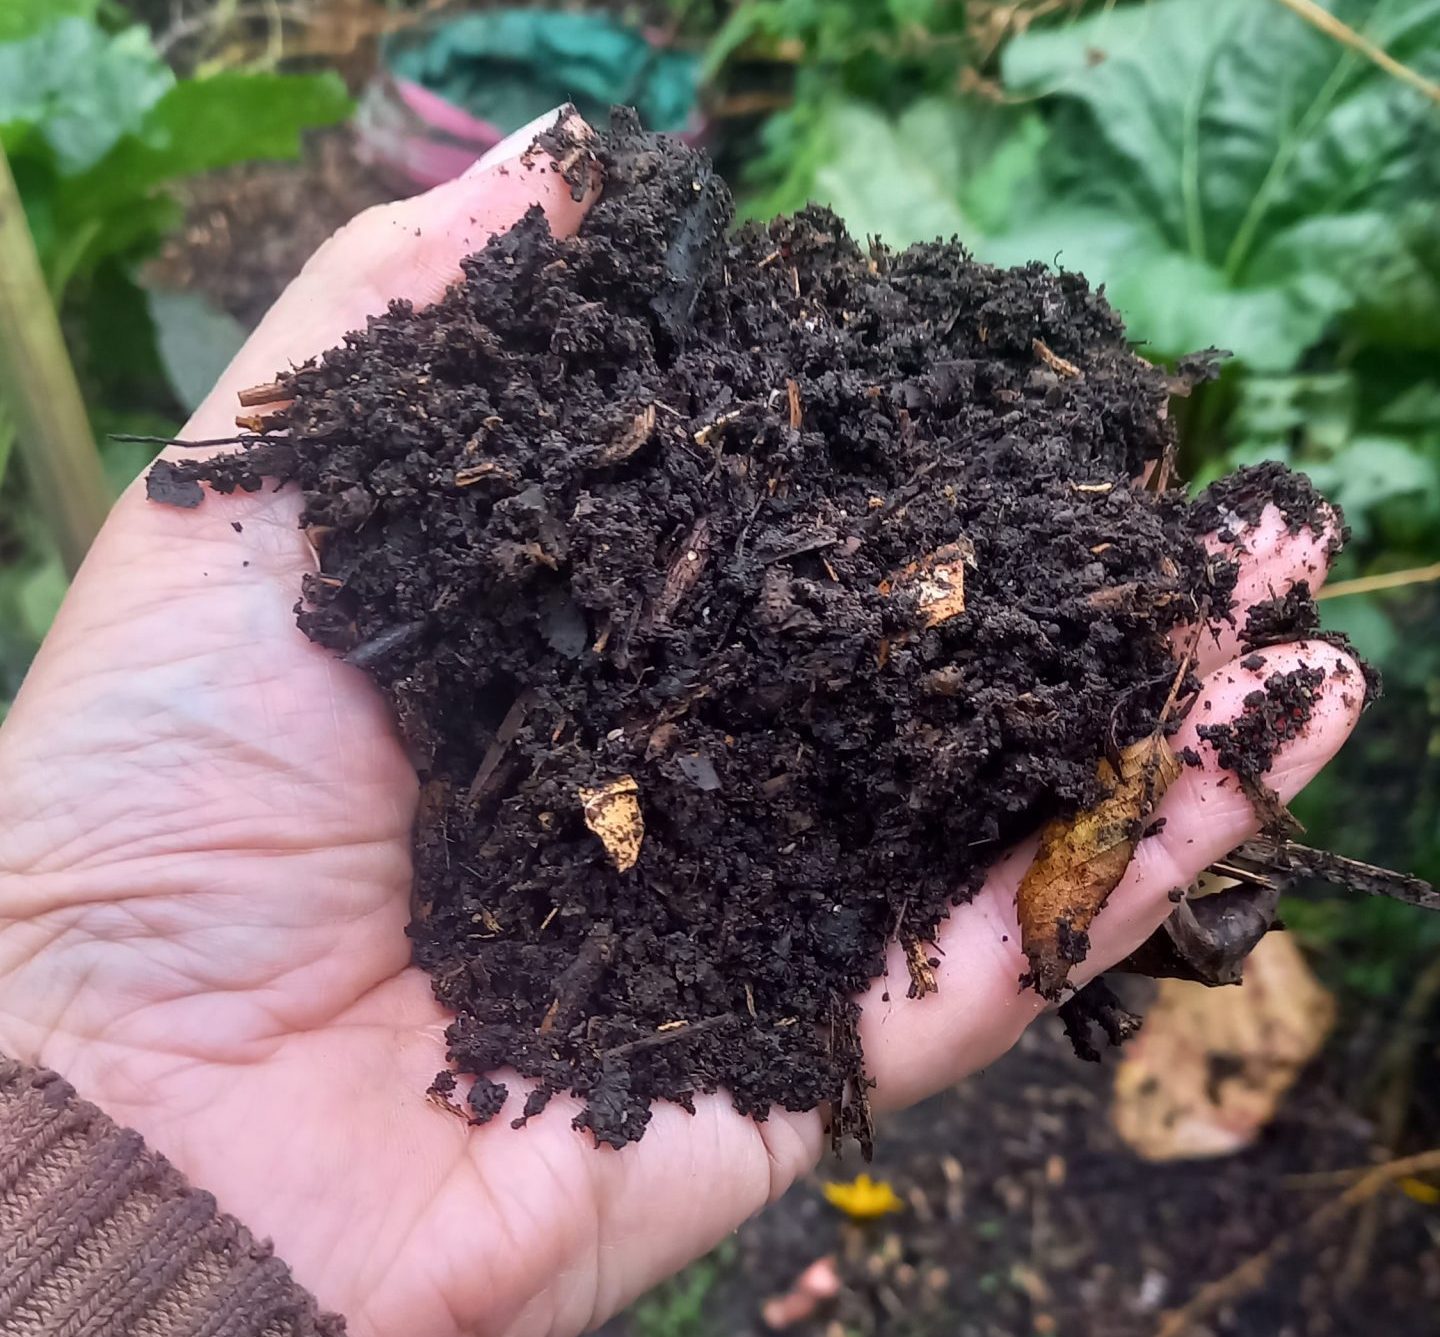
In very dry weather, you might need to water the bin from time to time. This keeps the compost working. You can add household vegetable waste, but don’t put cooked meat on it. Cooked food, especially meat, will attract rats. A well-kept compost bin shouldn’t smell at all, beyond a light, earthy, rather pleasant aroma. When the compost is ready, it will have turned into a dark brown fibrous material, as in the picture. There will be no traces of green waste remaining, beyond woody fragments. These help to give it structure. Spread it on the vegetable plot (or anywhere else in the garden) in Winter, and let the worms do the rest.
6. Use an Organic Fertilizer
You might want to use an annual fertilizer dressing too. I use blood, bone and fish, a traditional balanced organic fertiliser. It’s not exactly vegan but is a by-product of the meat industry … they don’t farm animals to produce fertilizer. But if you prefer, there are plenty of plant-based organic fertilisers on the market too.
7. Get Rid of Weeds
Vegetable plots, when they’re cleared of crops, will get a lot of weeds growing in them by spring. These are time-consuming and difficult to remove. I used to cover the whole plot with heavy gauge black polythene. That kills the weeds by excluding light. It also warms the soil as it absorbs the sun’s heat and brings worms to the surface. But make sure you use a garden fork to put plenty of holes in it to let the rain through. If you don’t, the soil can dry out too much.
8. Consider Chickens
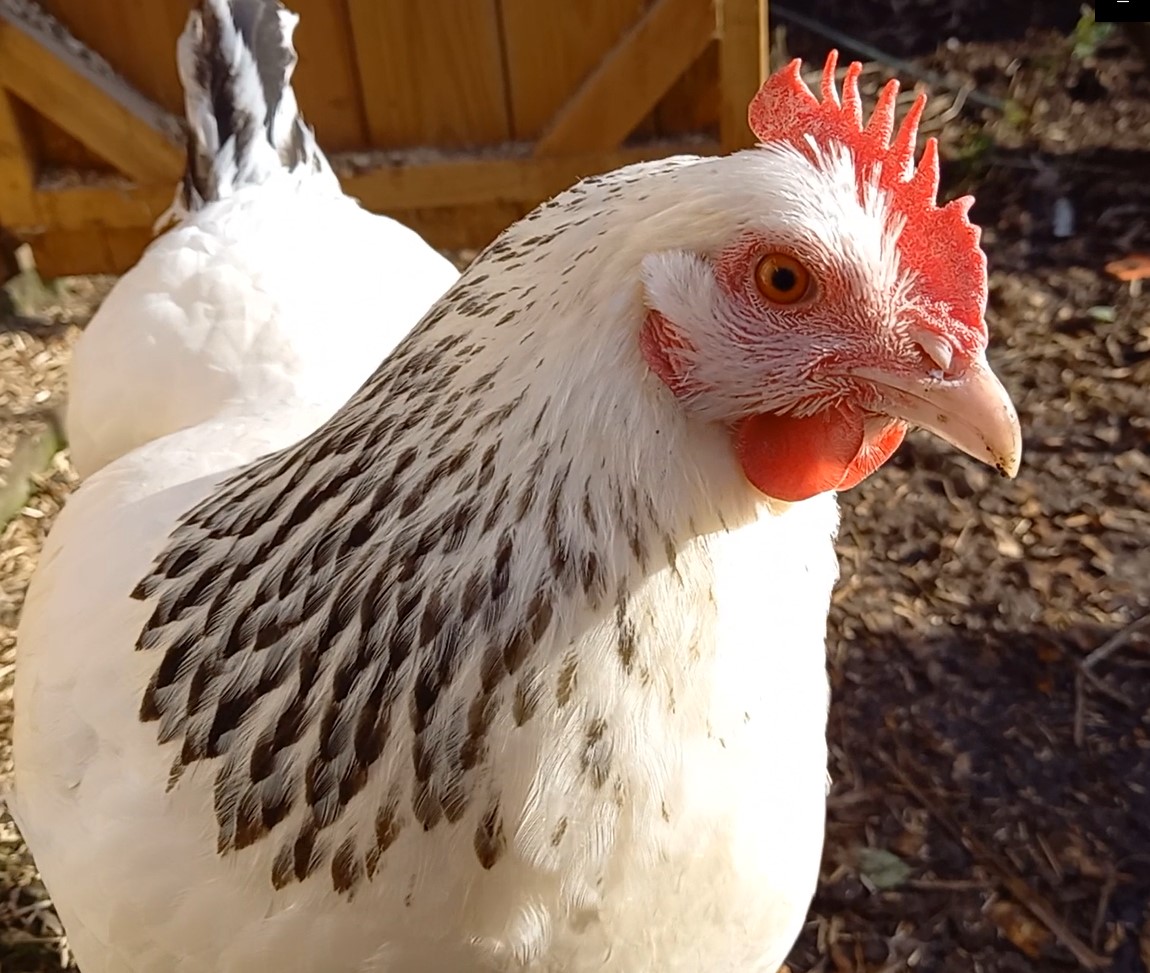 Nowadays however, I use chickens. Chicken husbandry is a whole other subject. But if you can keep them in another part of the garden and let them loose on the veg plot in winter, they’re wonderful. They’ll clear all the weeds, scratch up the soil and dig in any debris. They’ll also fertilise the soil. By spring you’ll have a perfectly clear, fertilised plot ready to use. And you’ll have had a lot of eggs. You‘ll need to protect any Winter crops from the chickens with net cages of course (chickens love kale and cabbages!). But you should do that to keep pigeons and butterflies off anyway. Use a tough netting though – chickens can peck their way through anything that’s a bit flimsy.
So, in conclusion, the key to good crops is good soil. In the next two ‘Grow Your Own Nutrition’ posts, I’ll look at what you can grow in a small space, to get the most out of your plot.
Pingback: Grow Your Own Nutrition